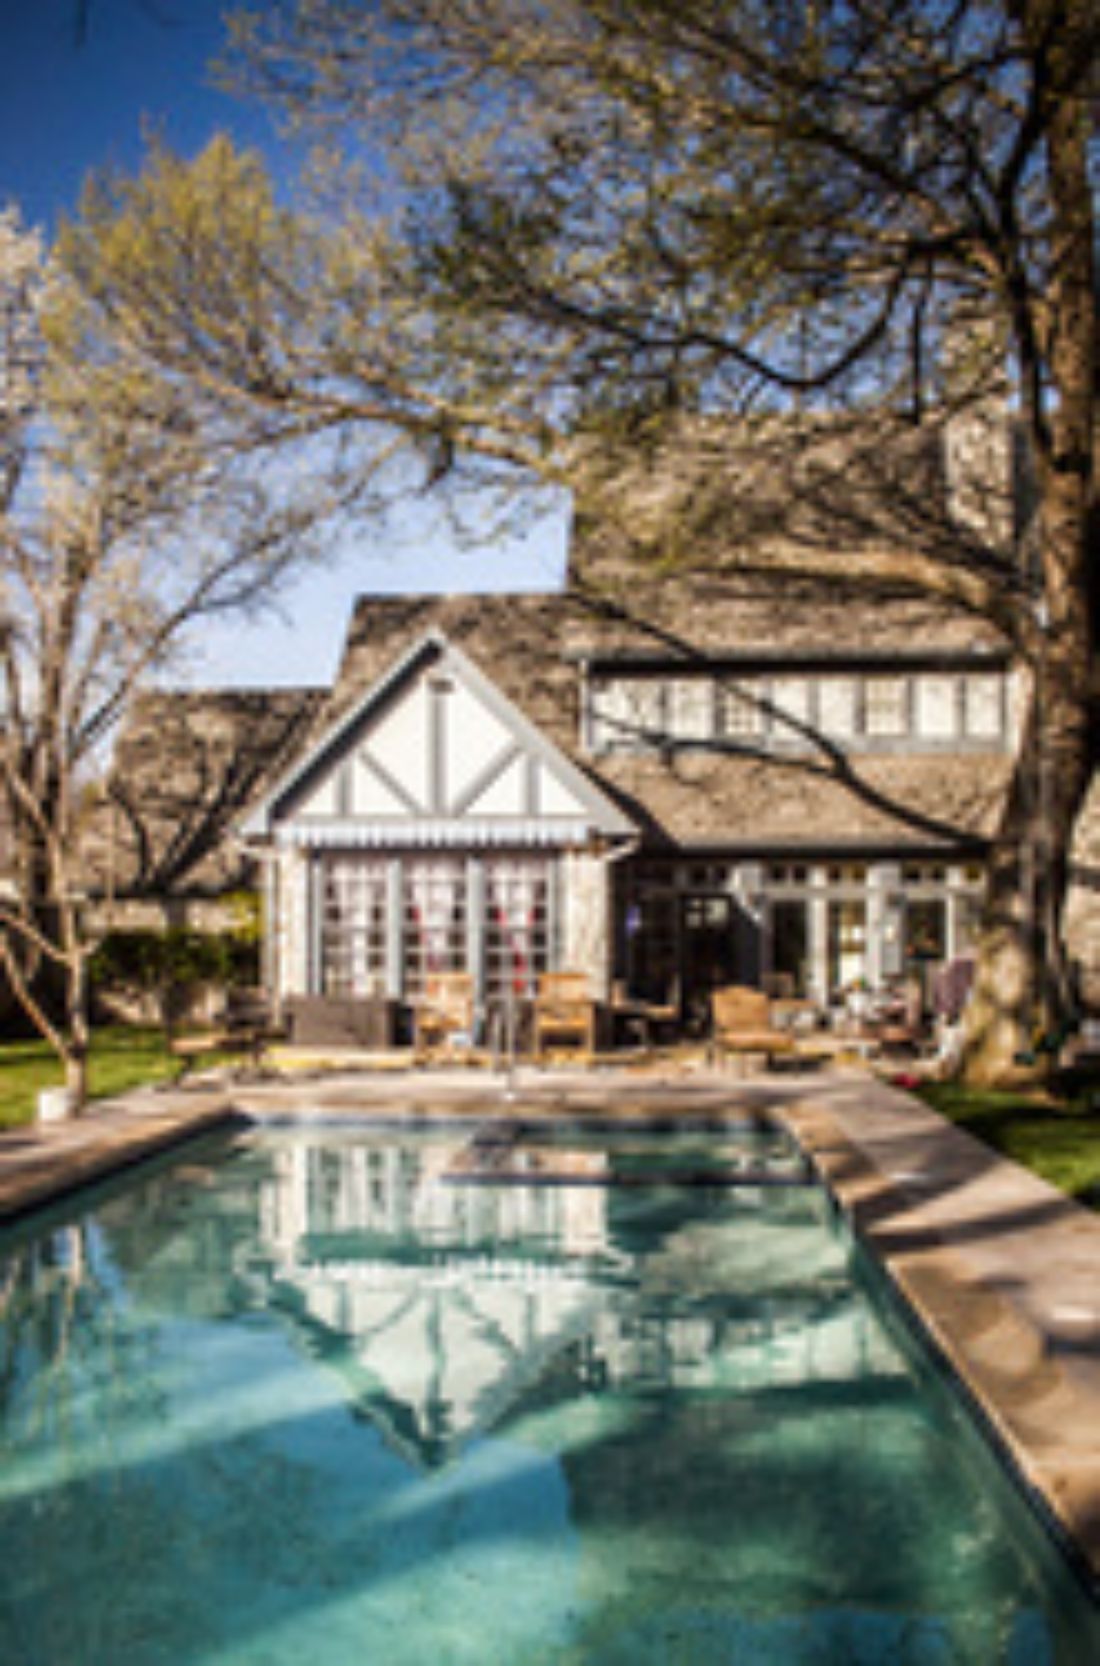
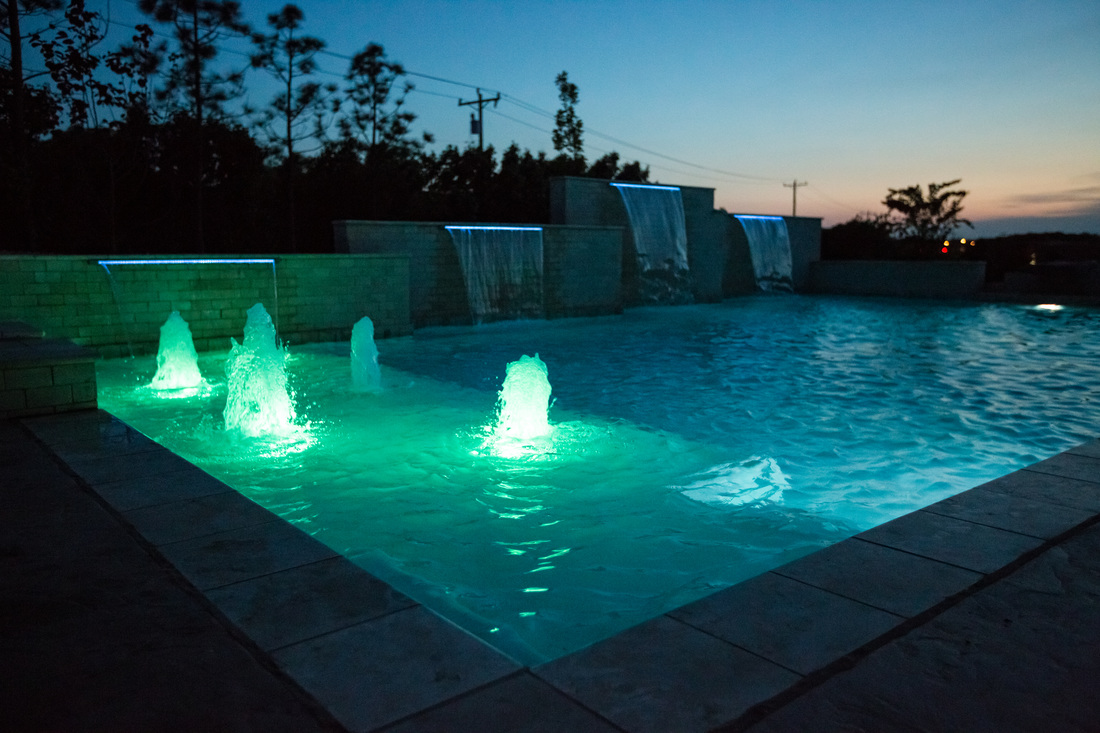
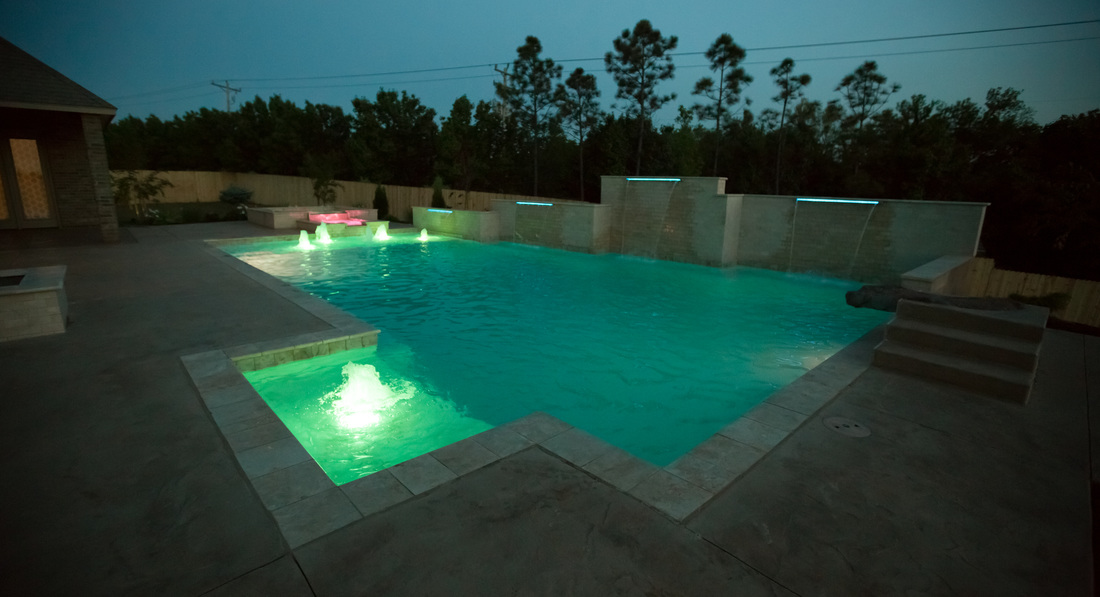
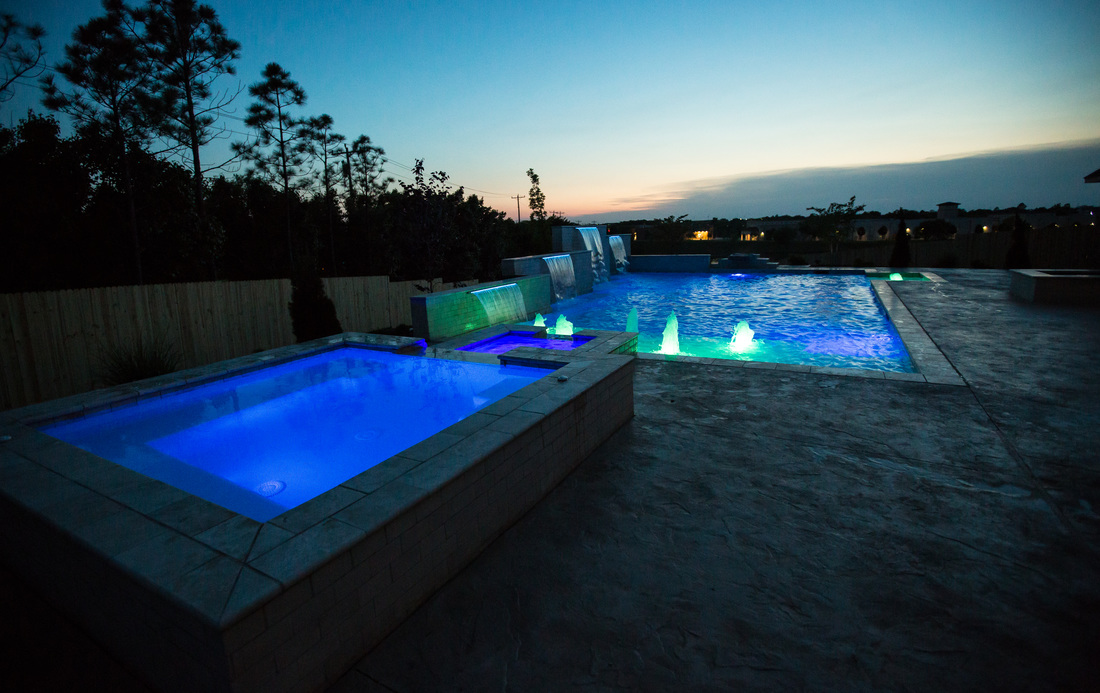
Oklahoma Swimming Pool and Spa Photos
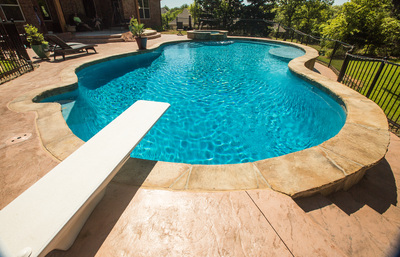
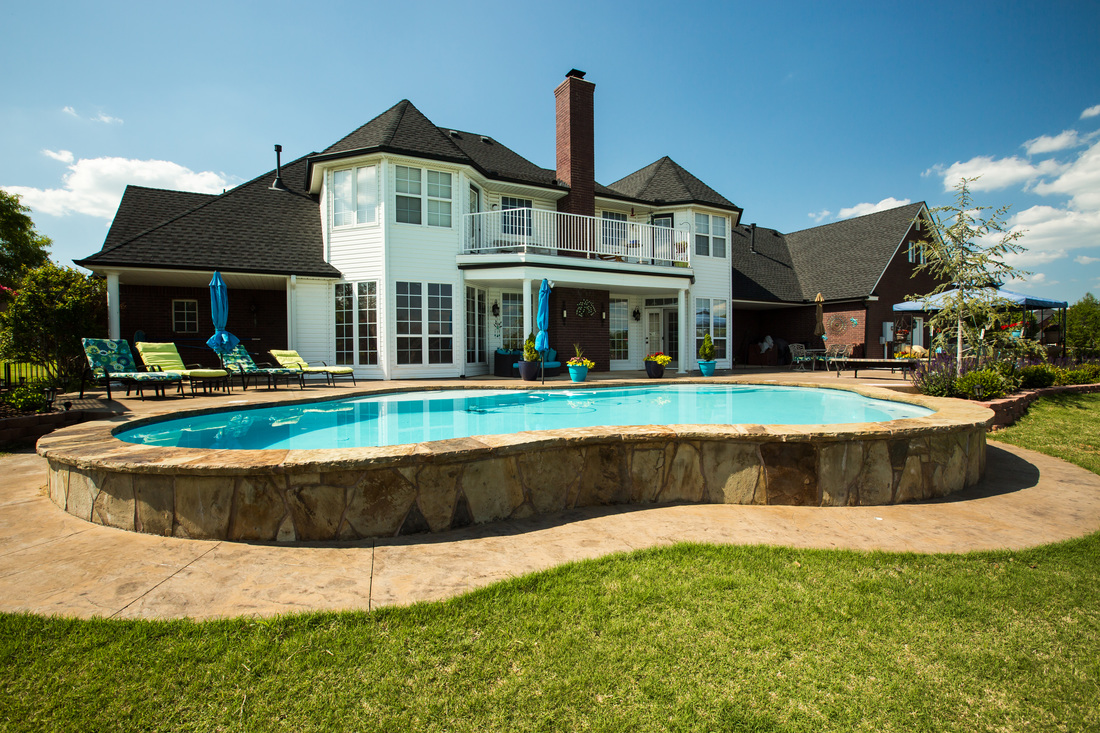
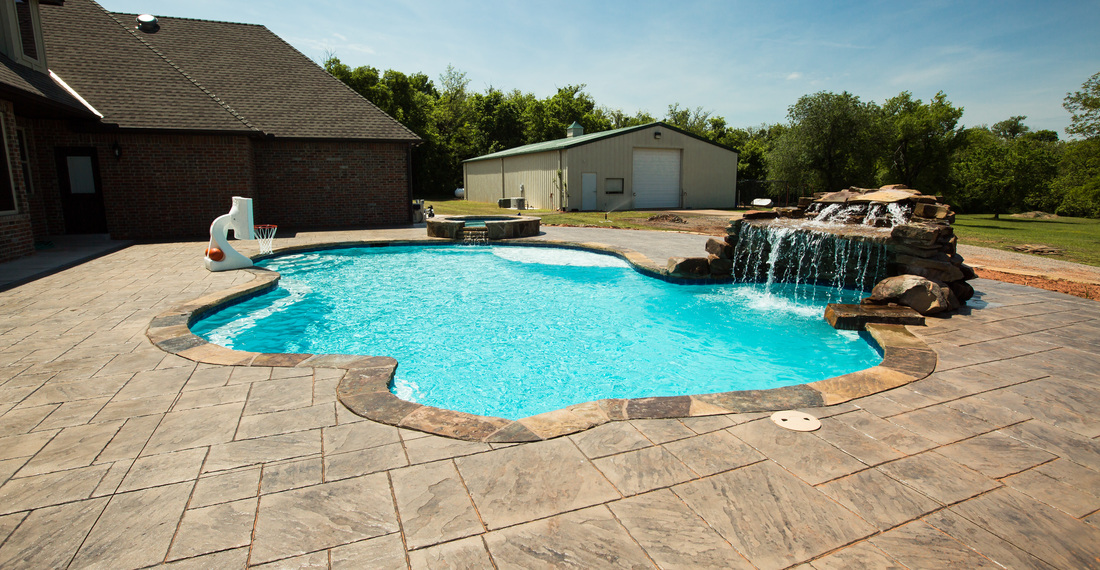
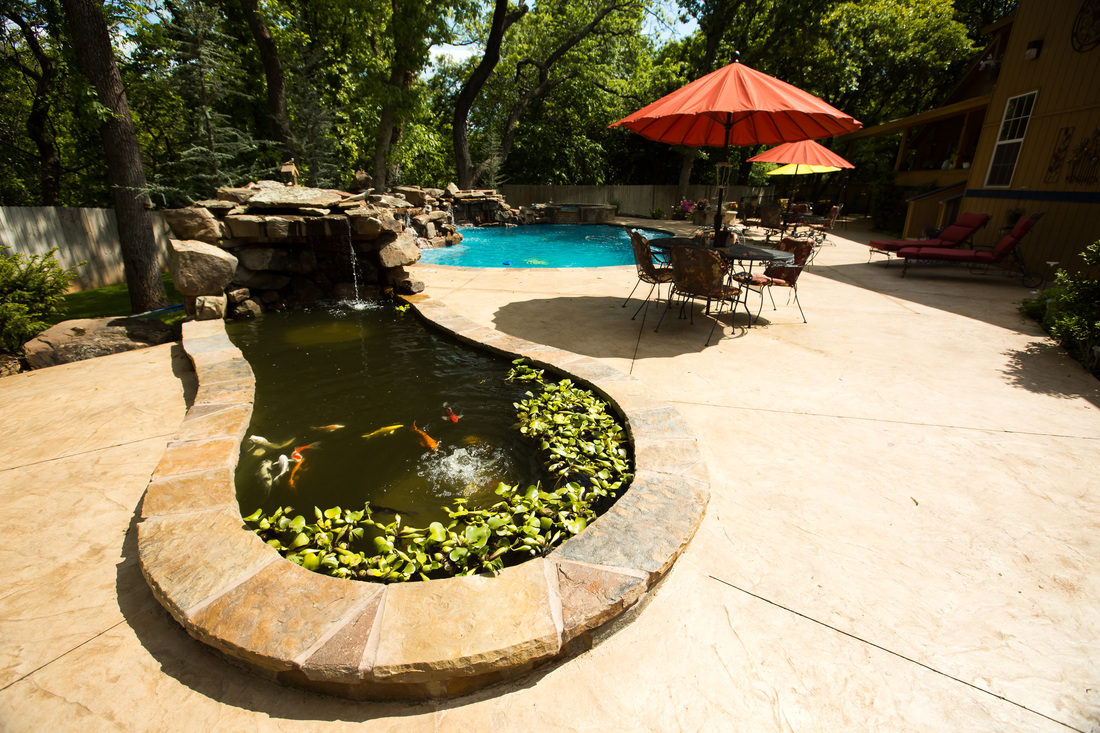
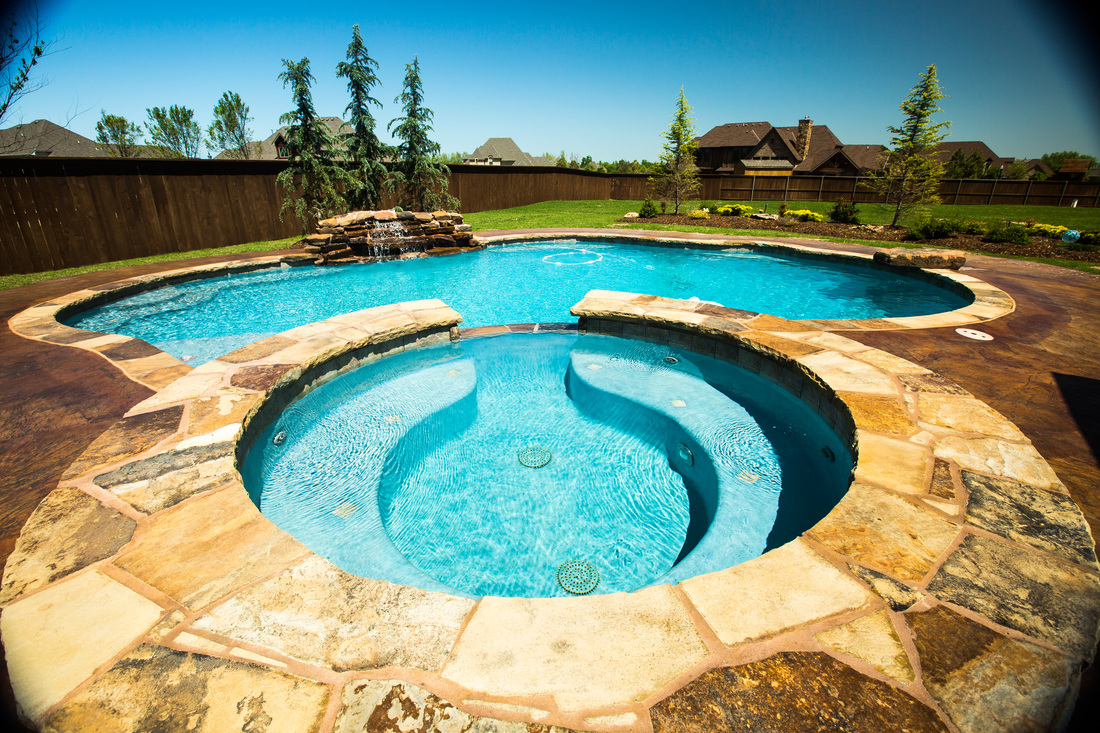
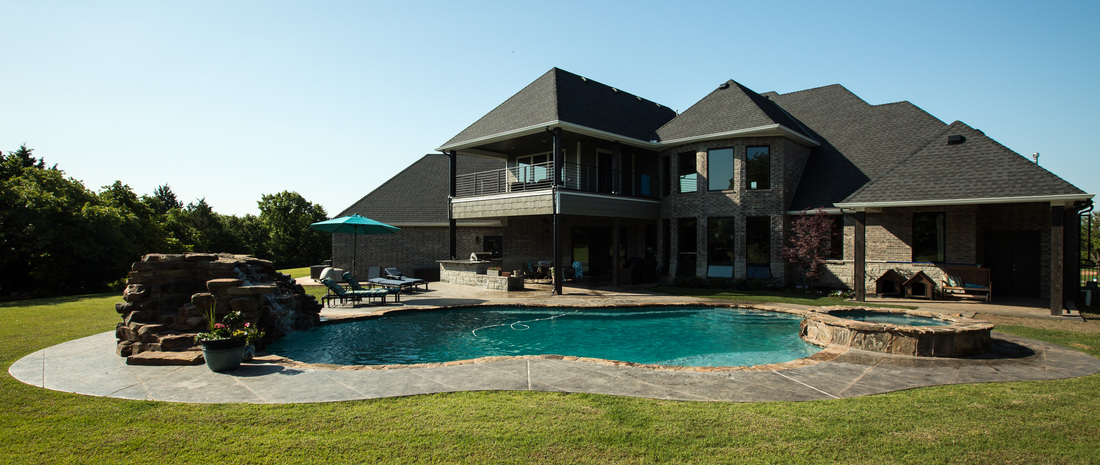
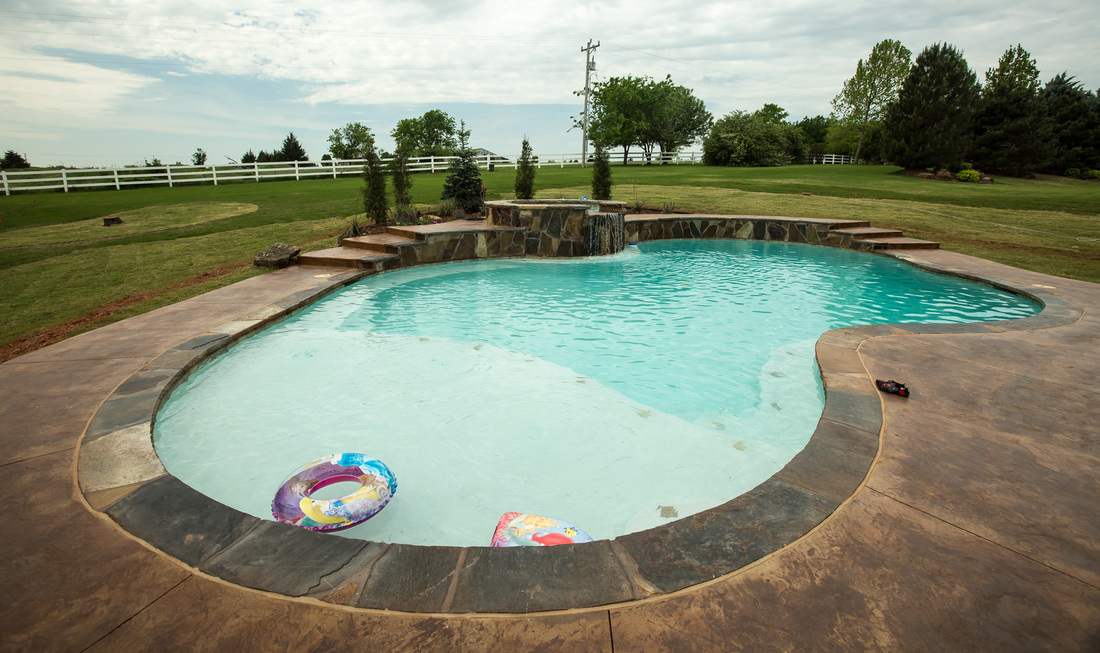
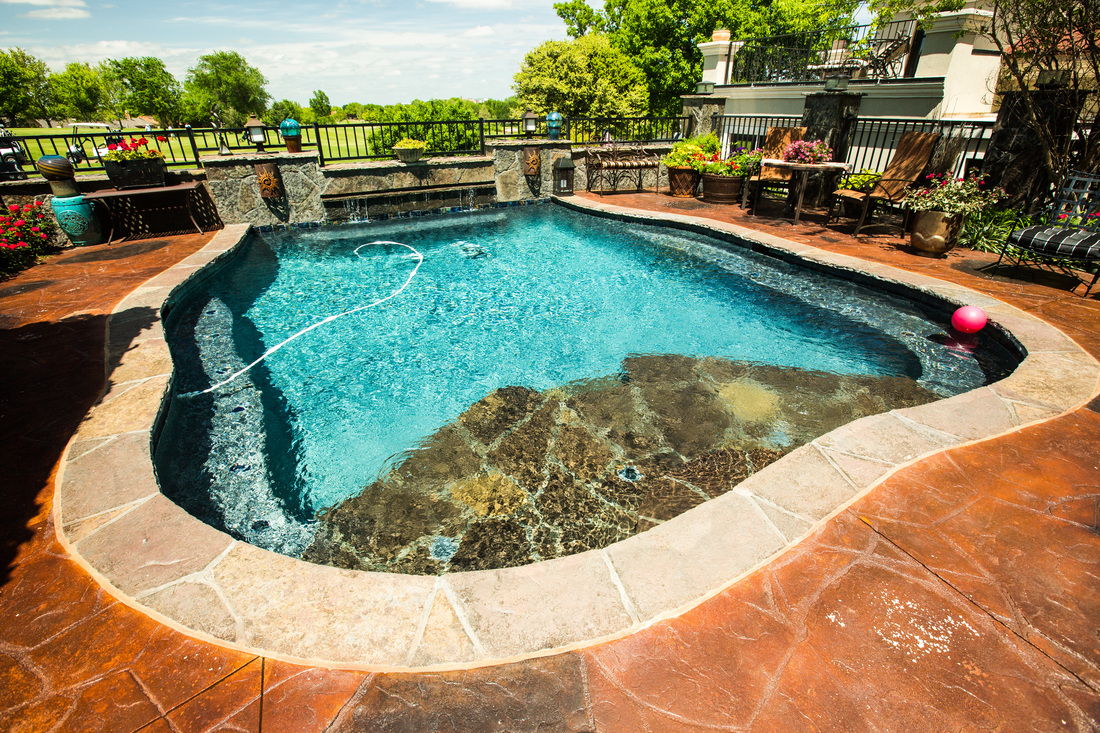
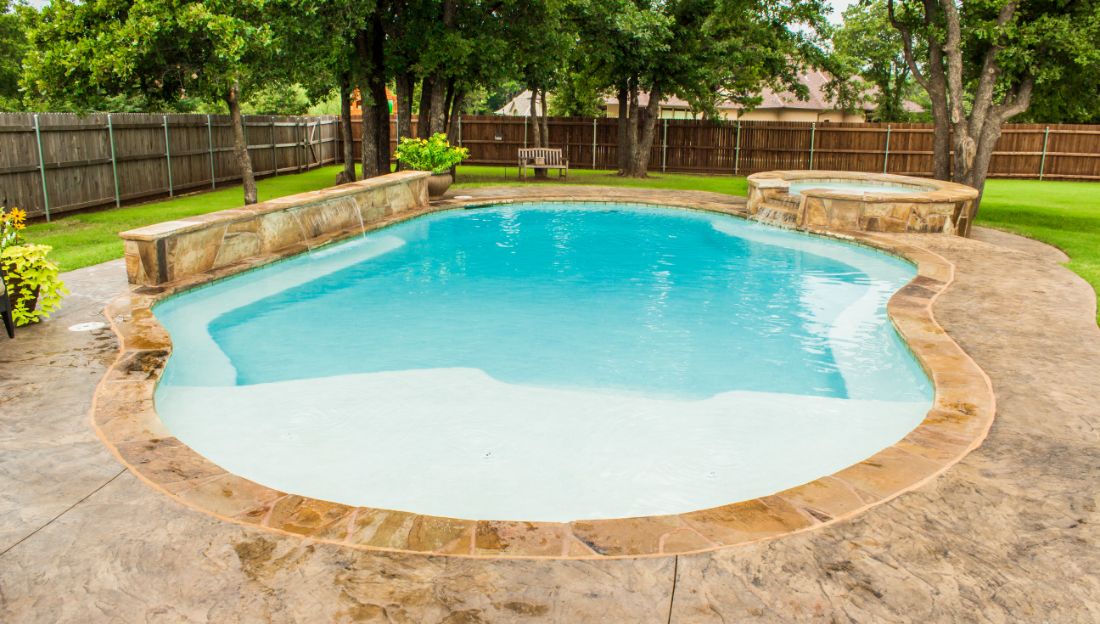
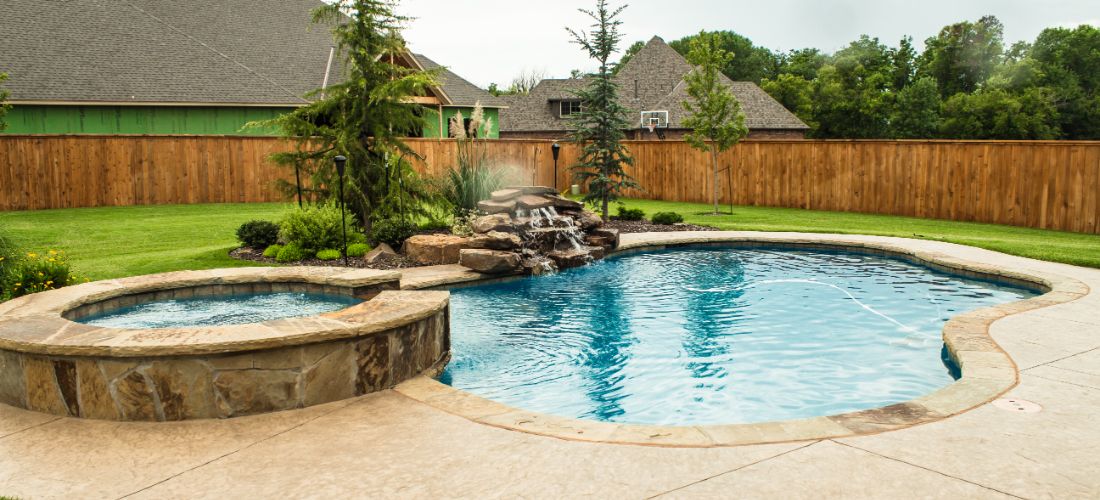
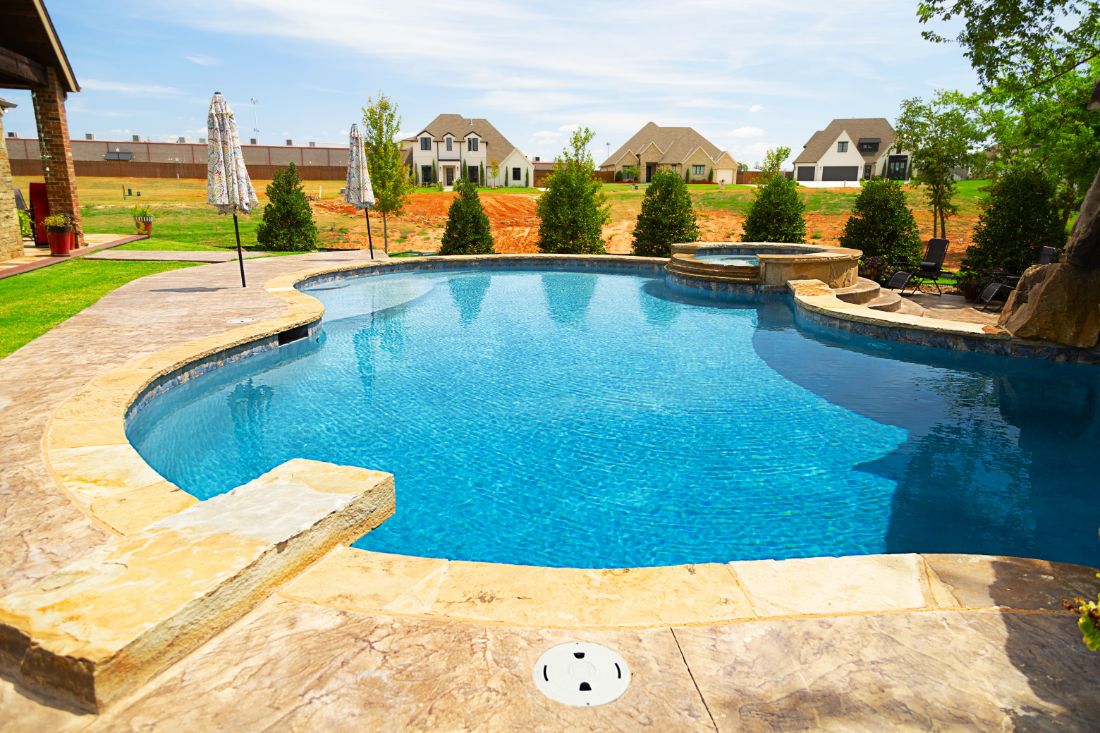
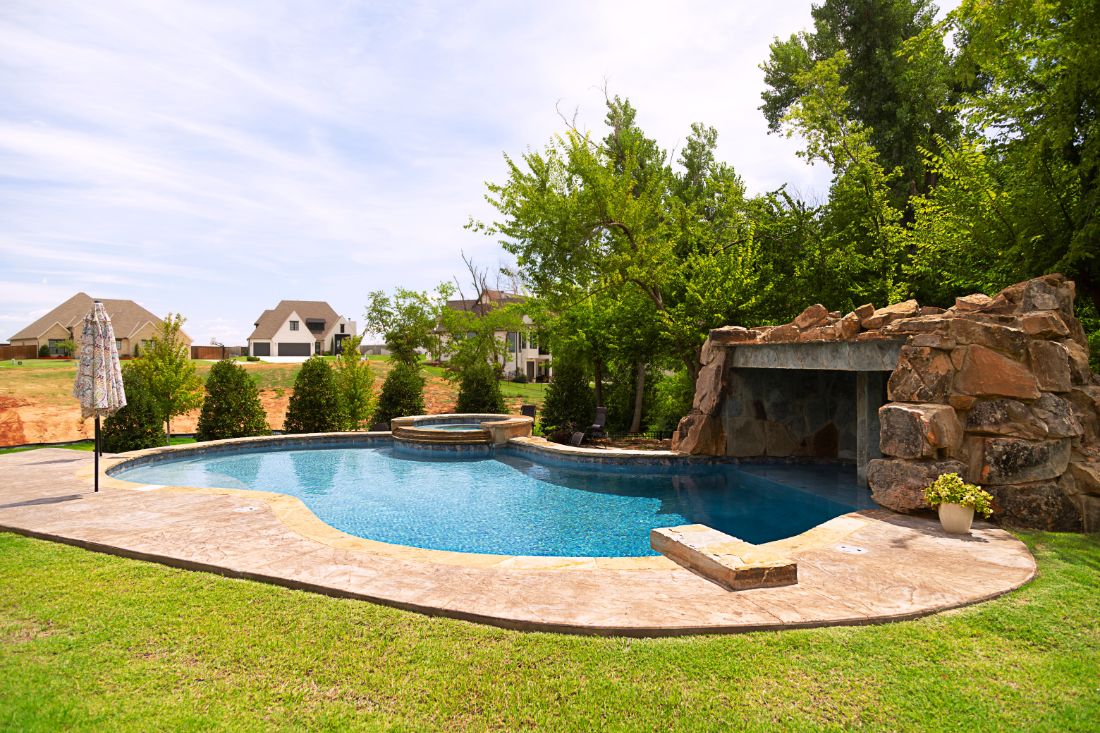
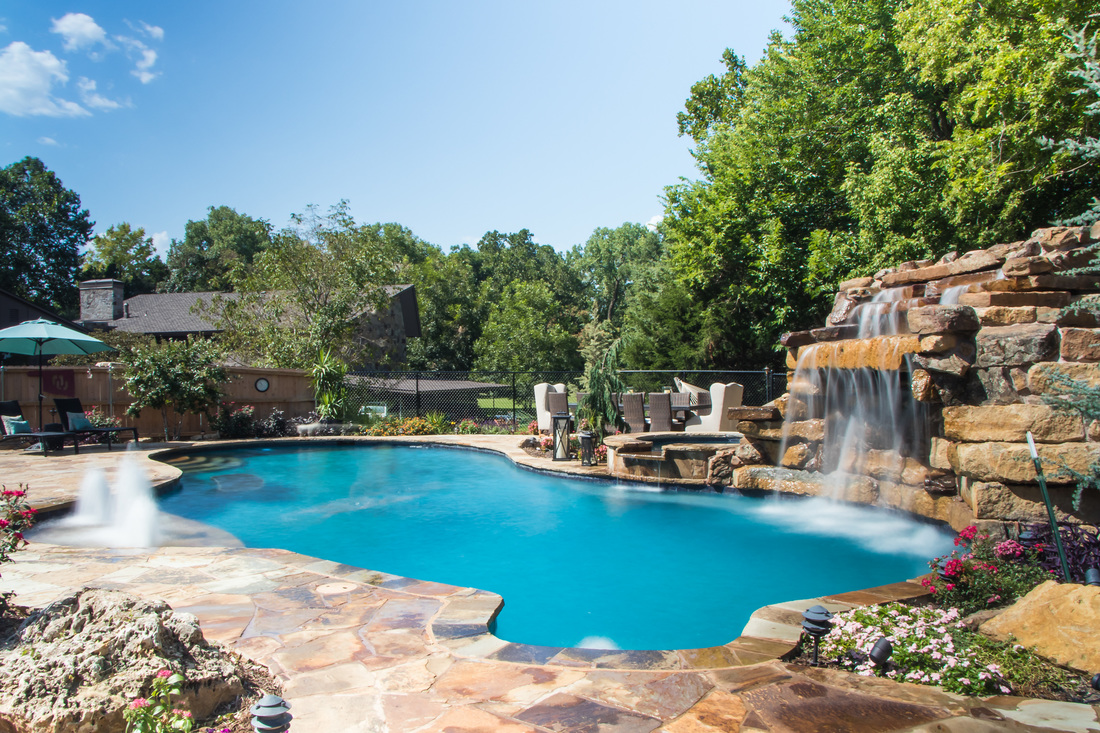
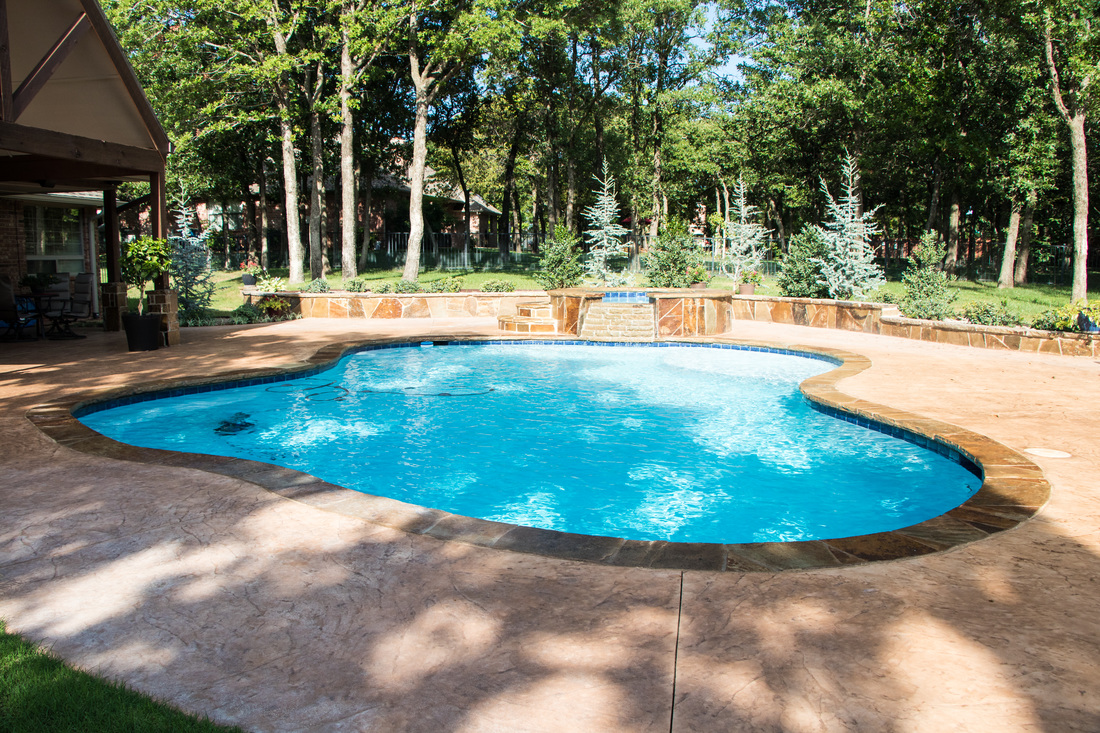
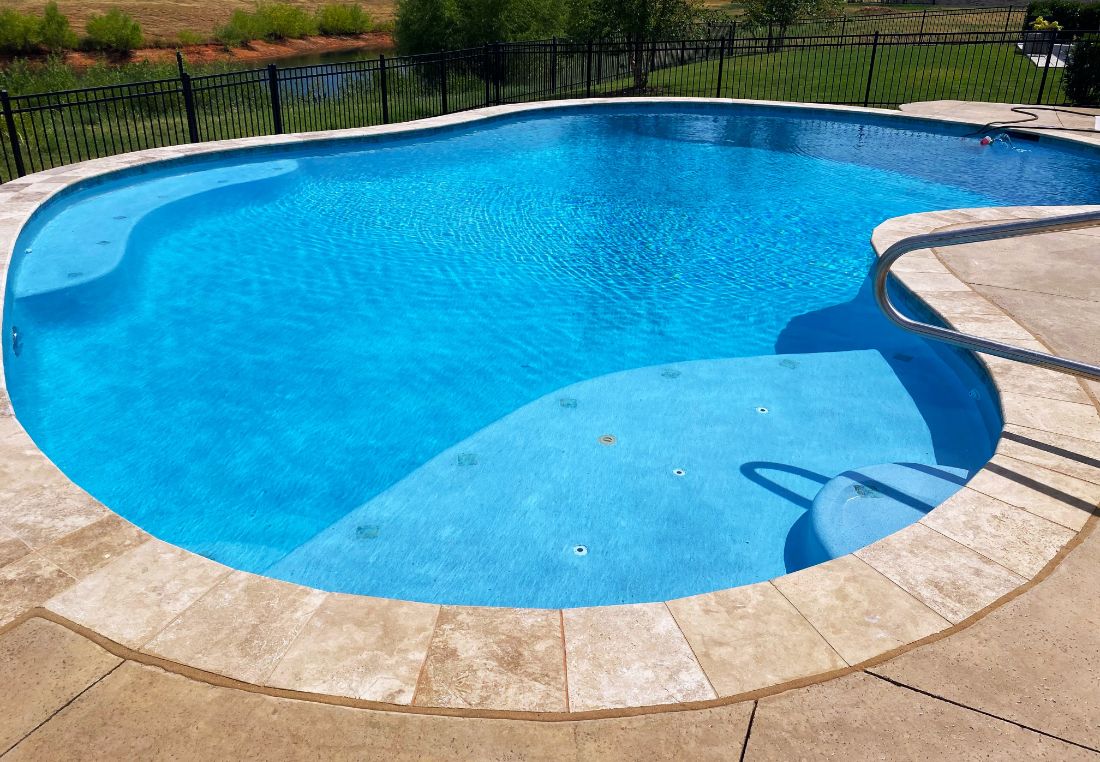
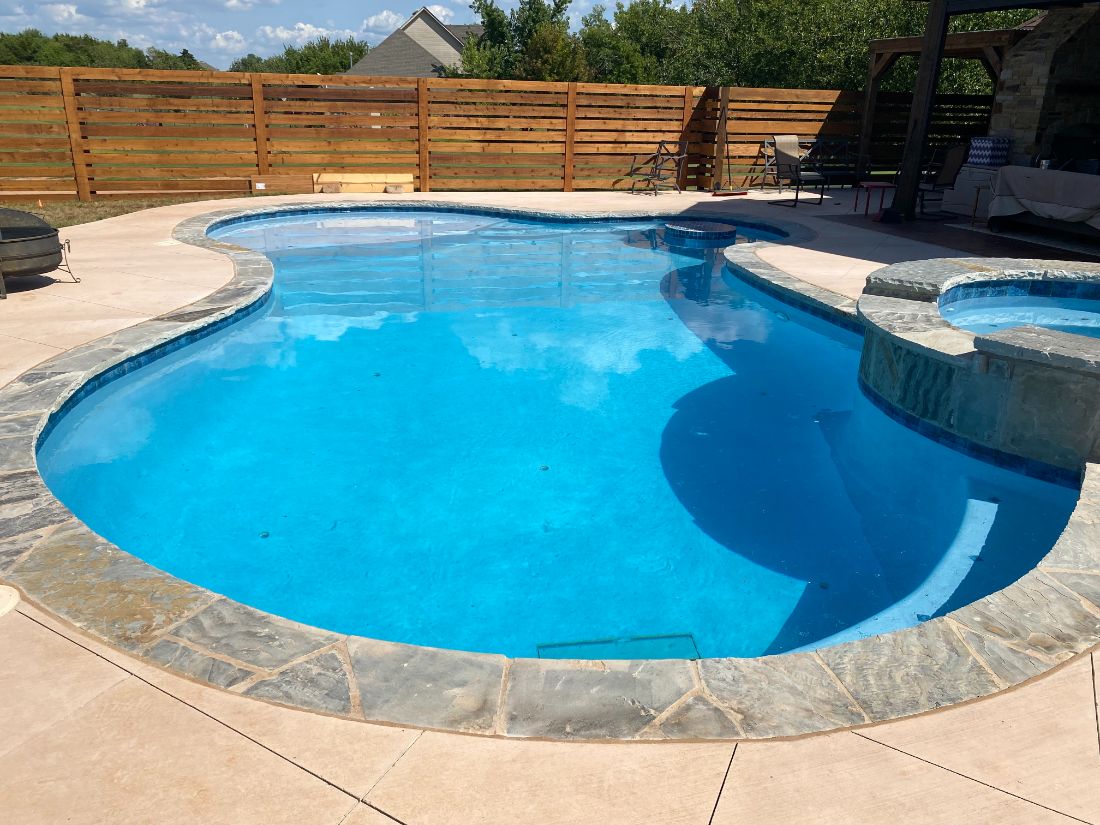
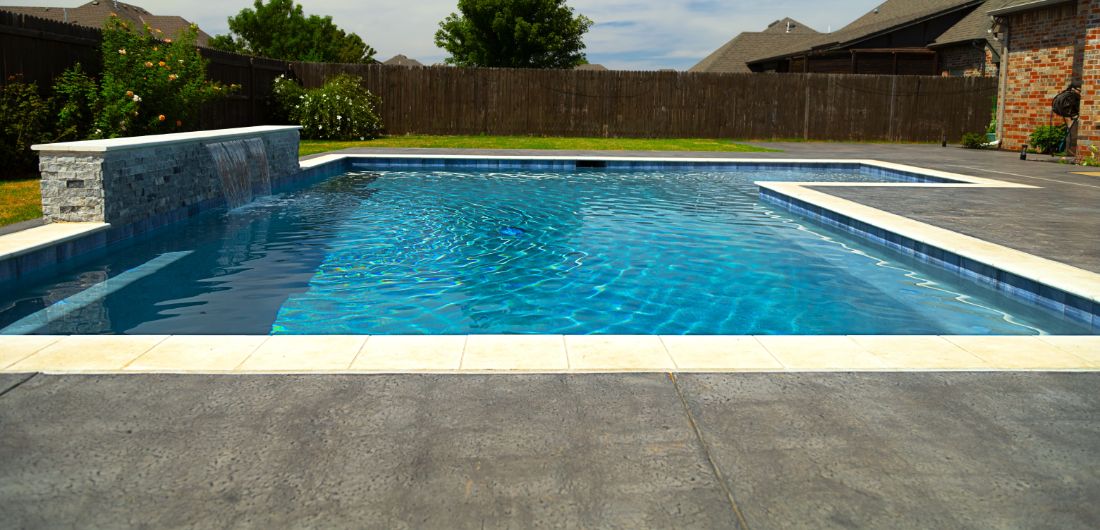
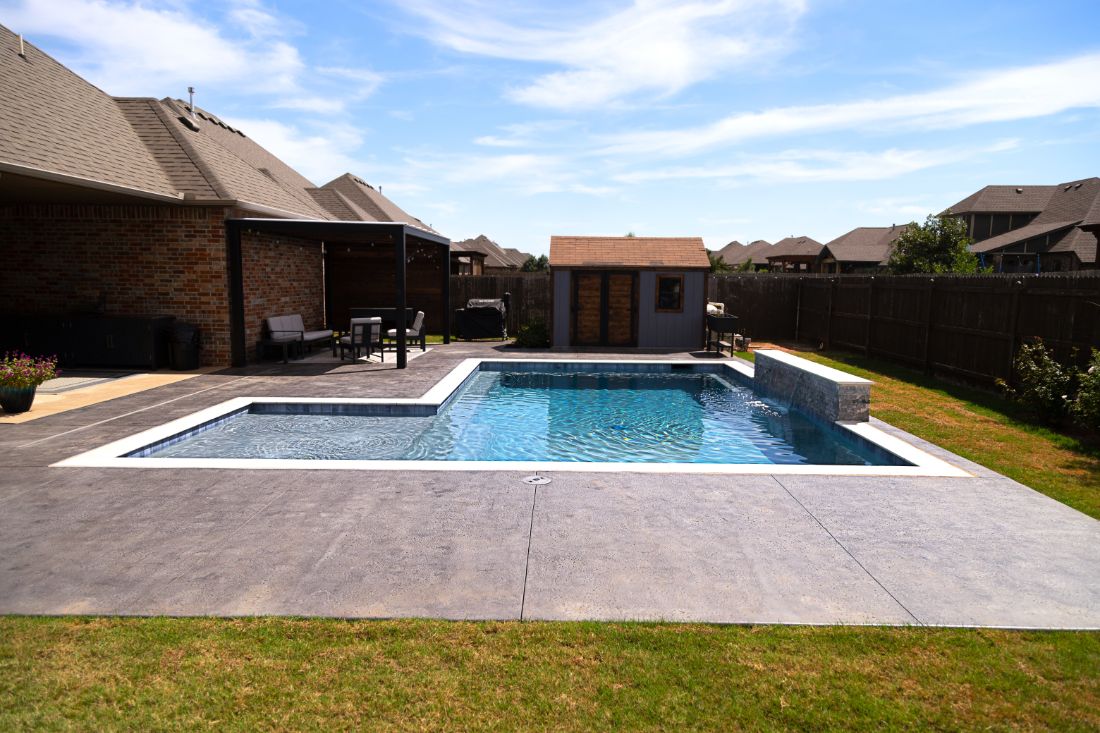
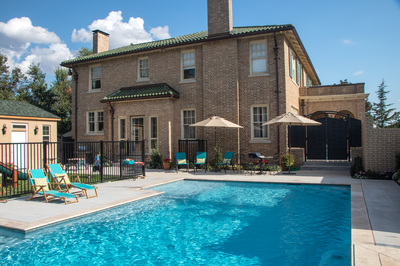
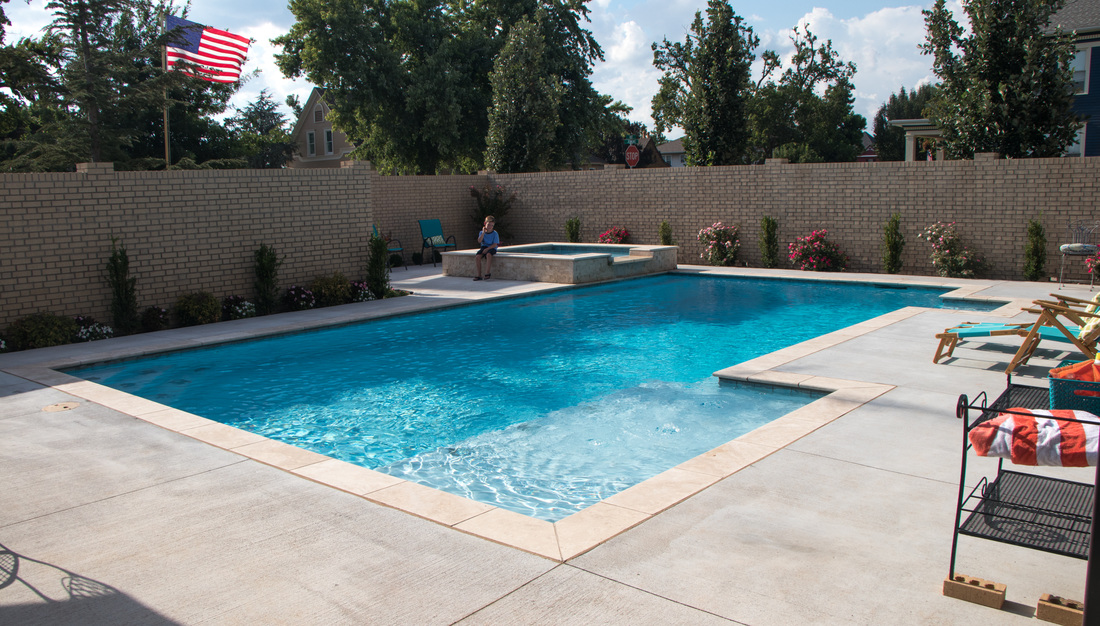
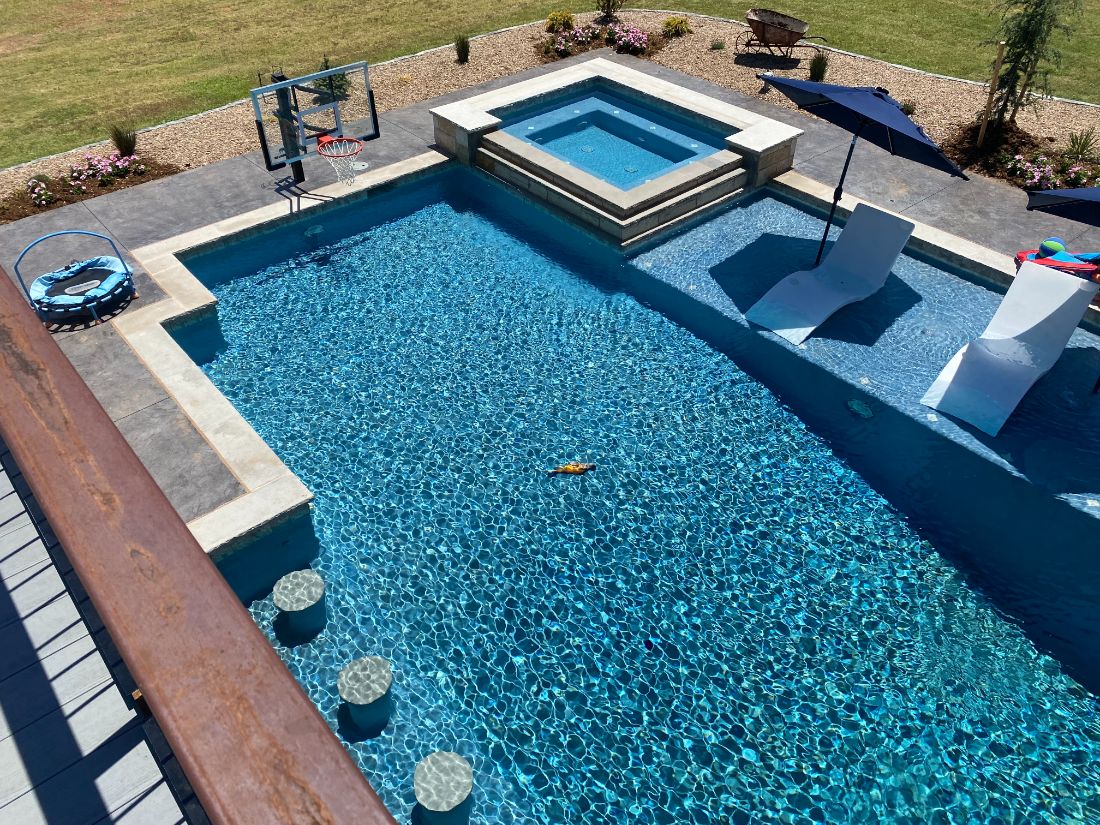
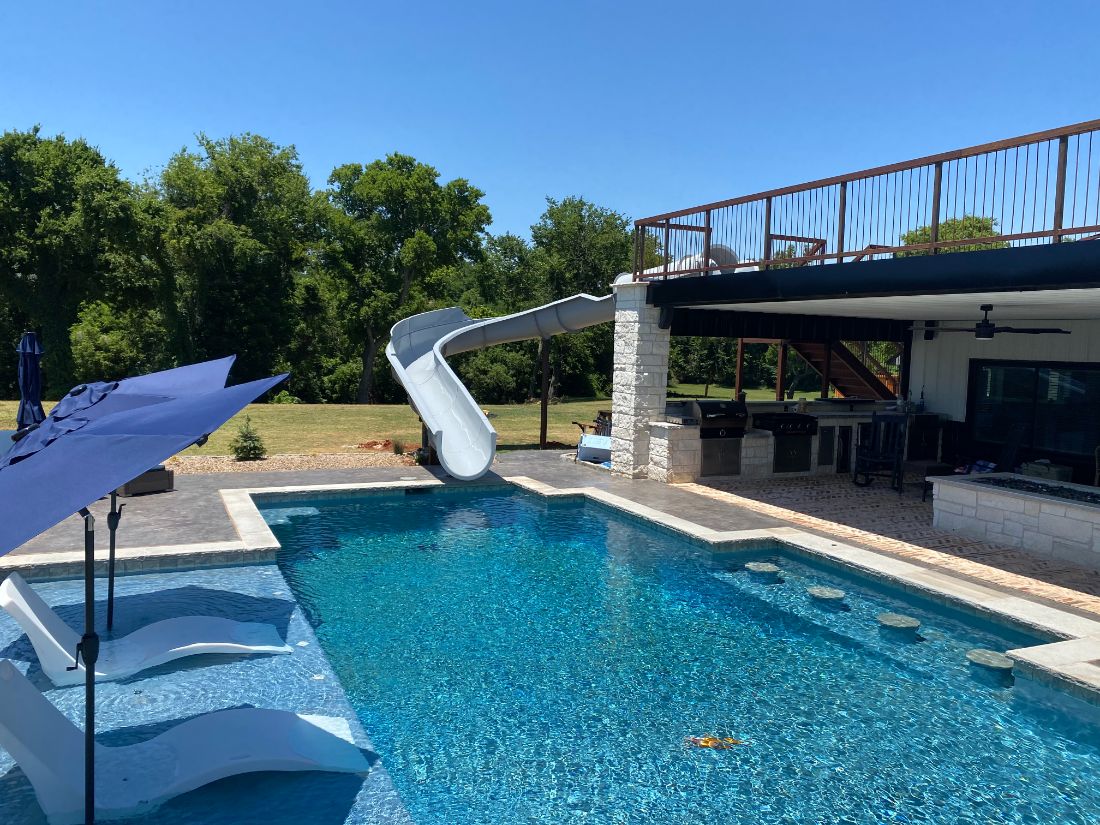
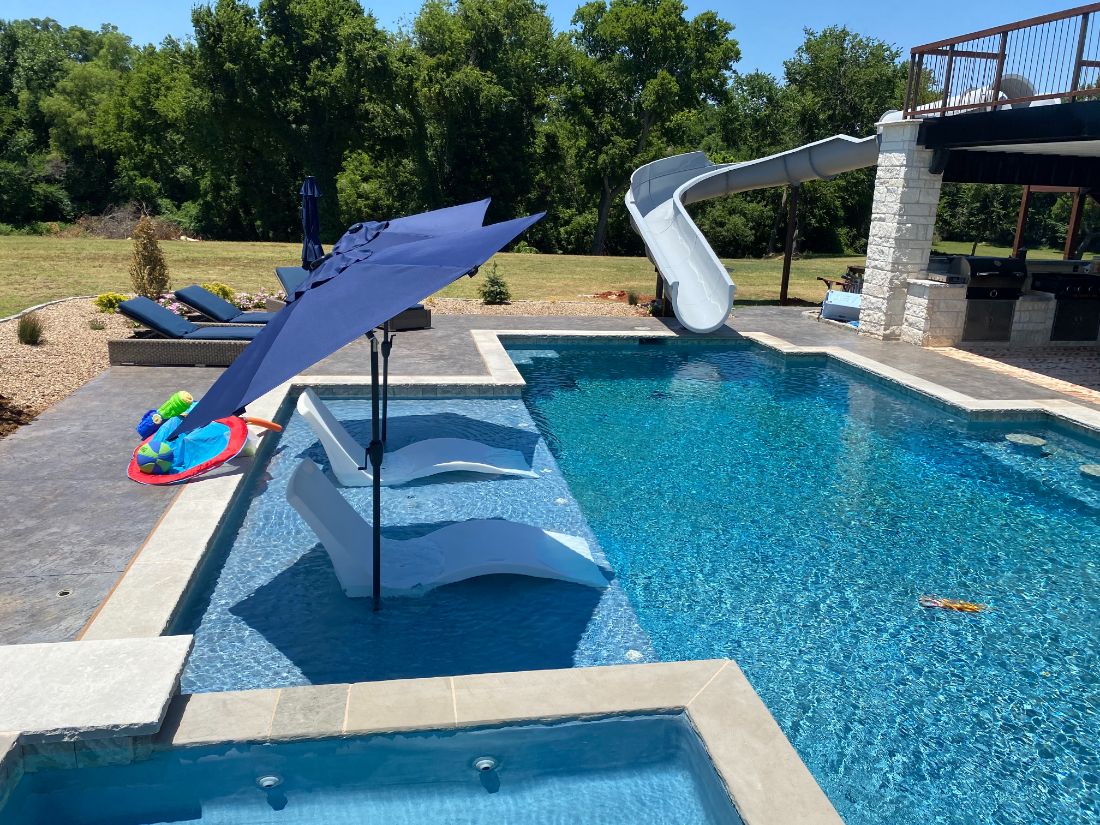
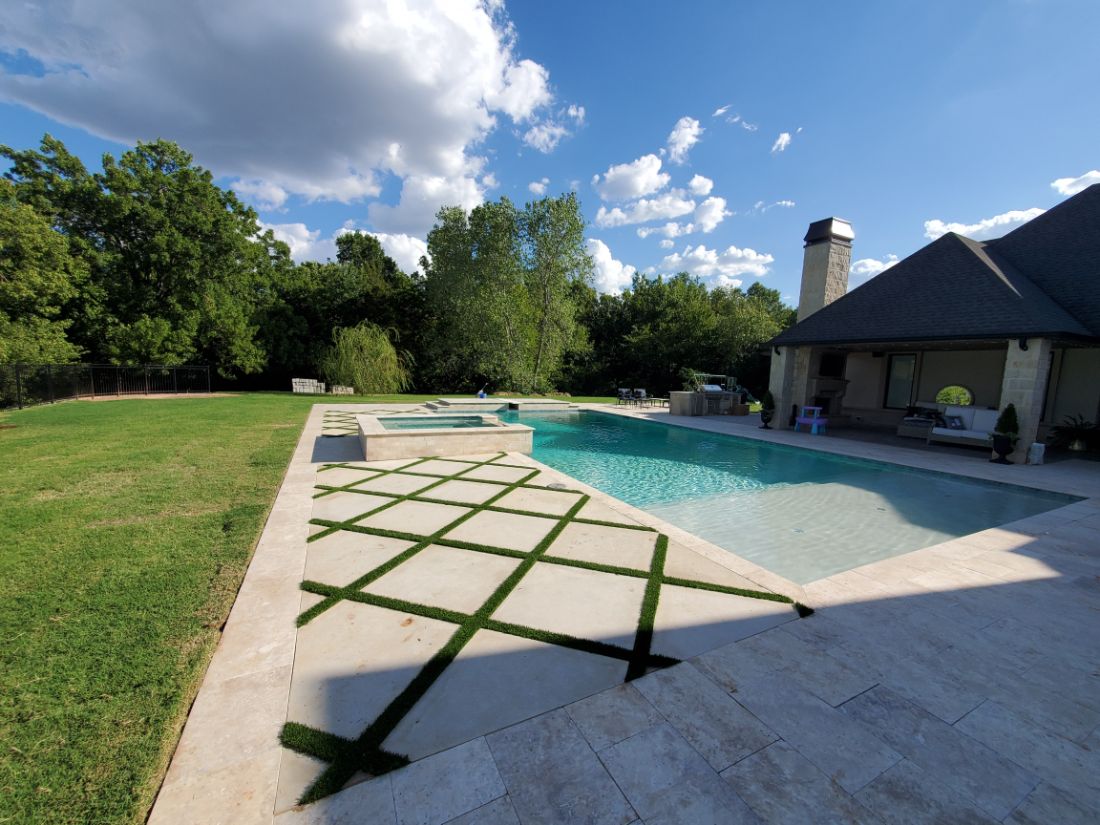
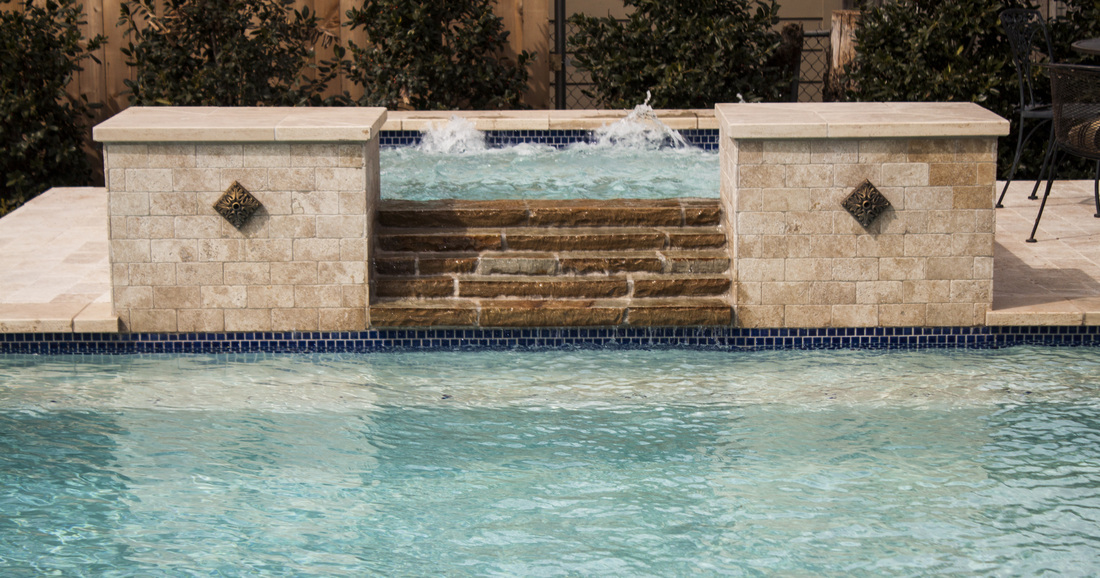
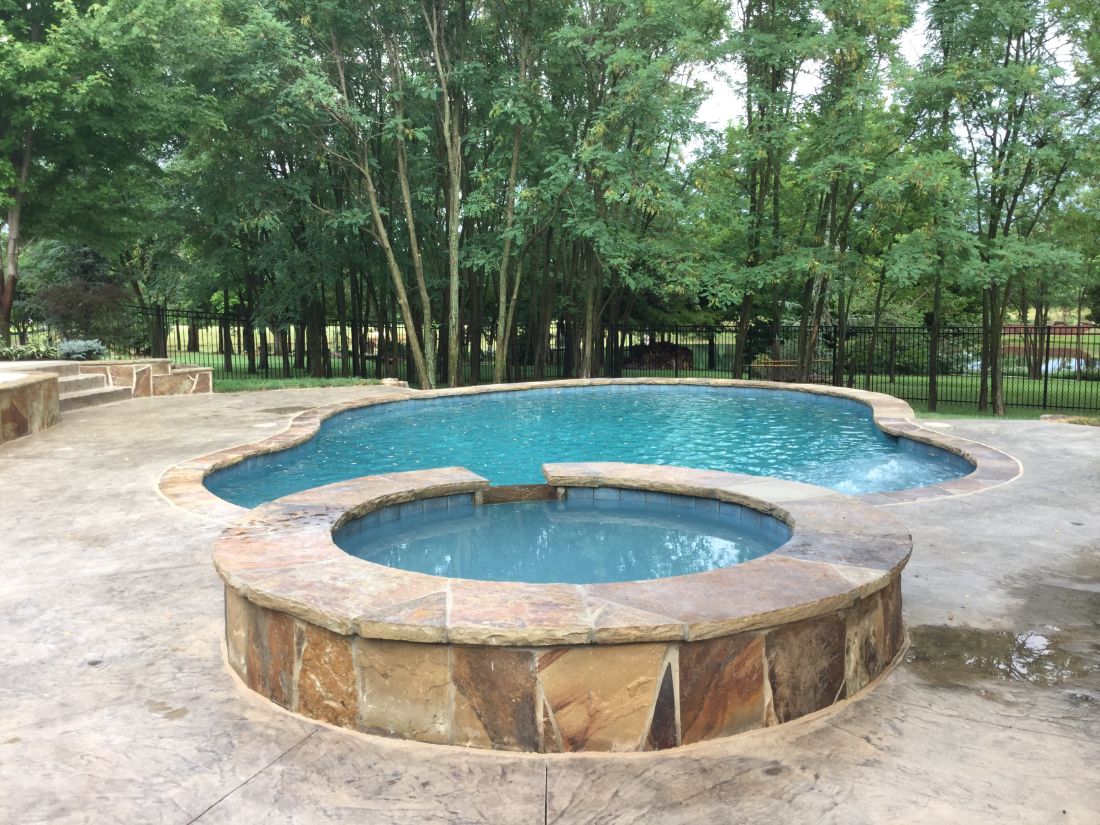
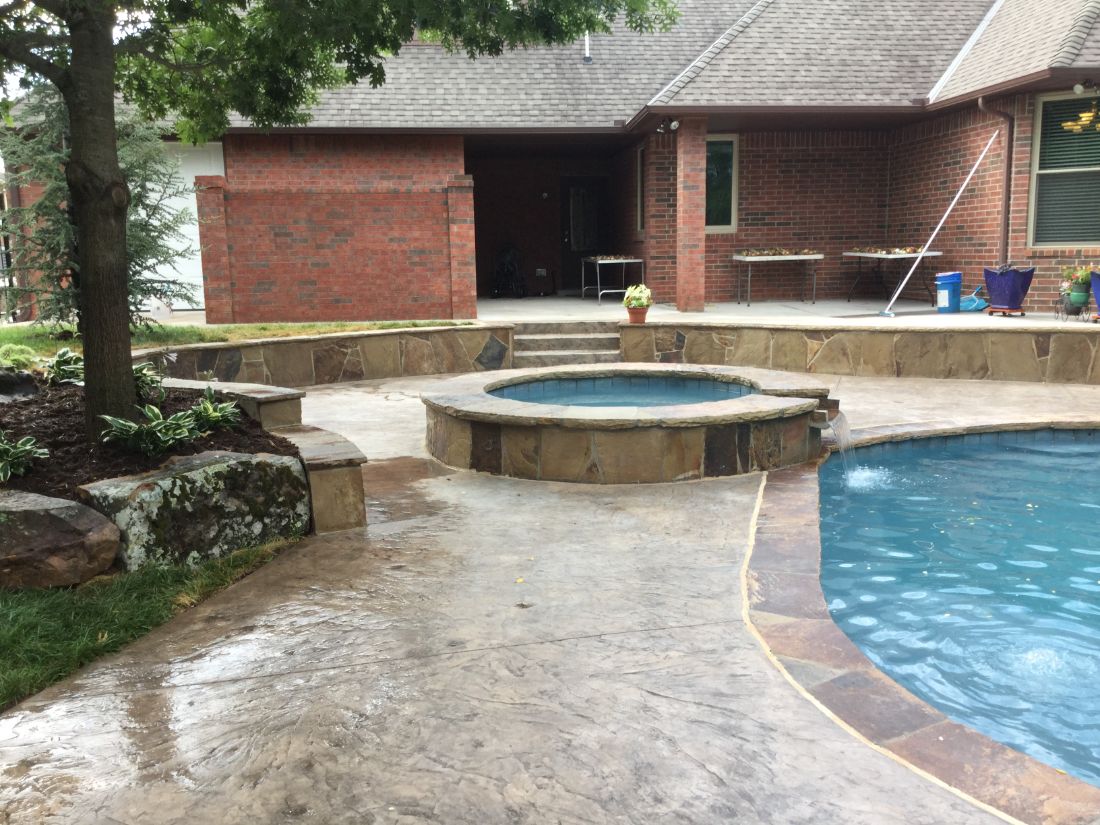
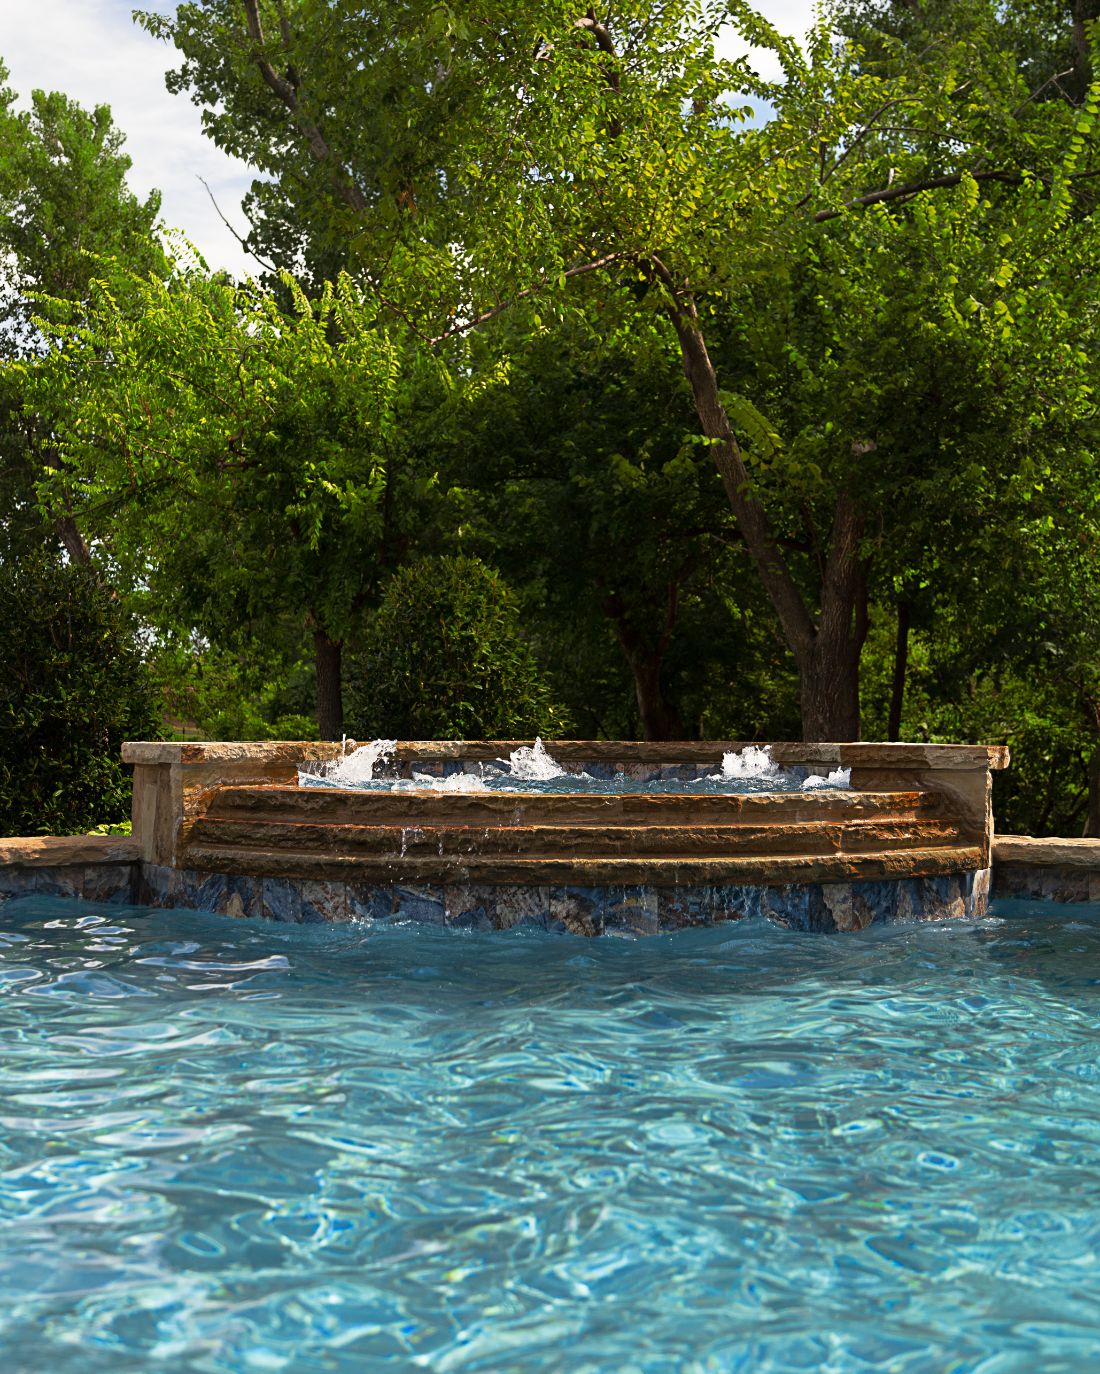
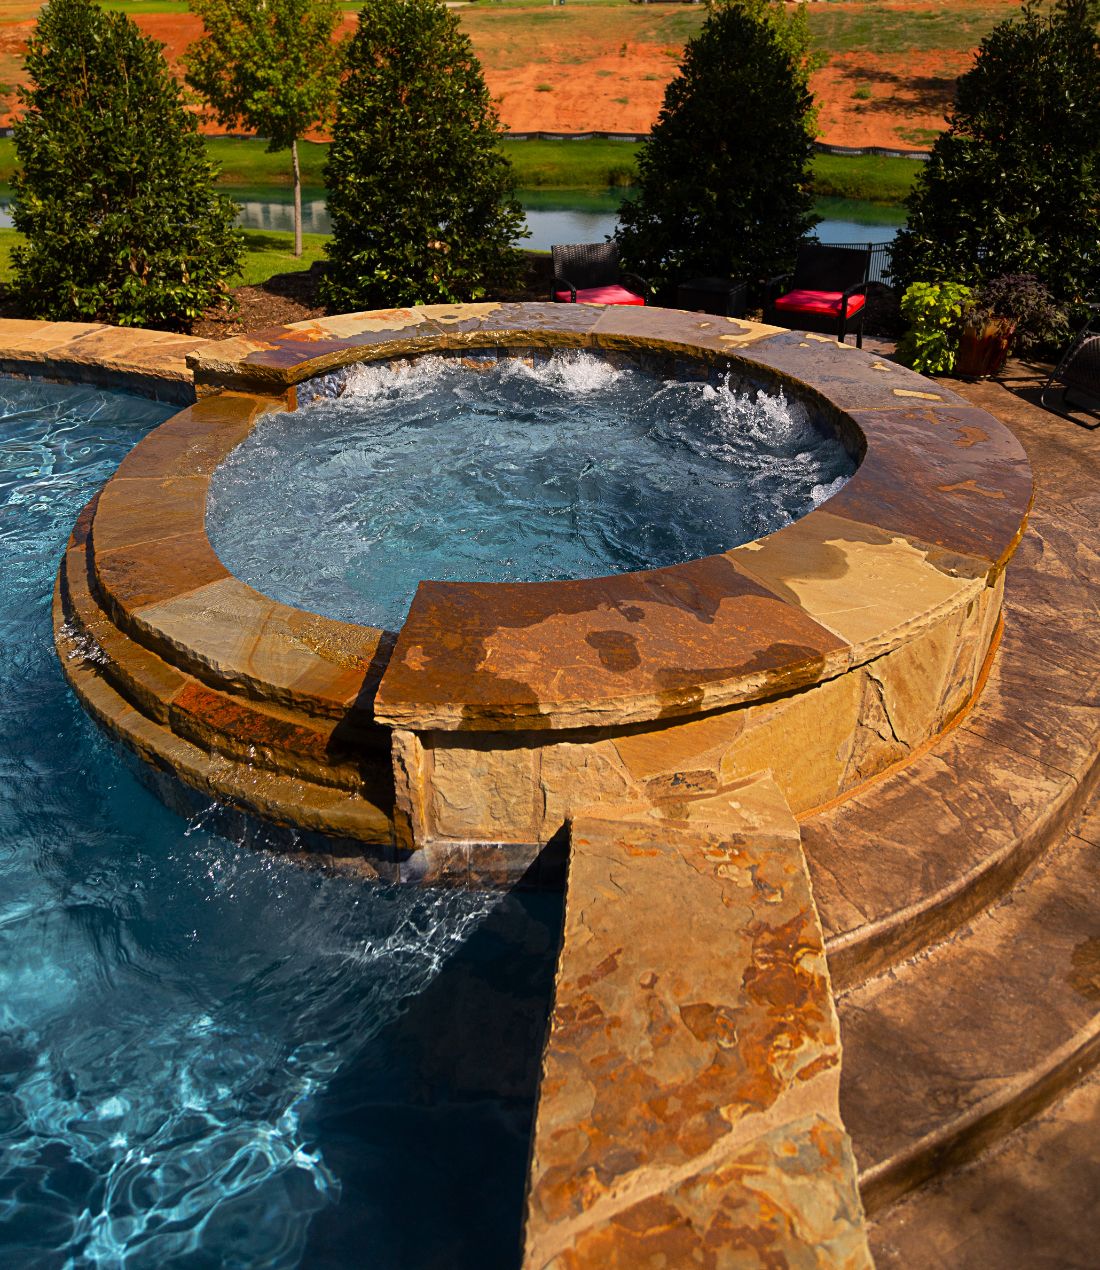
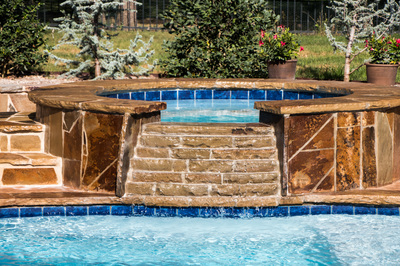
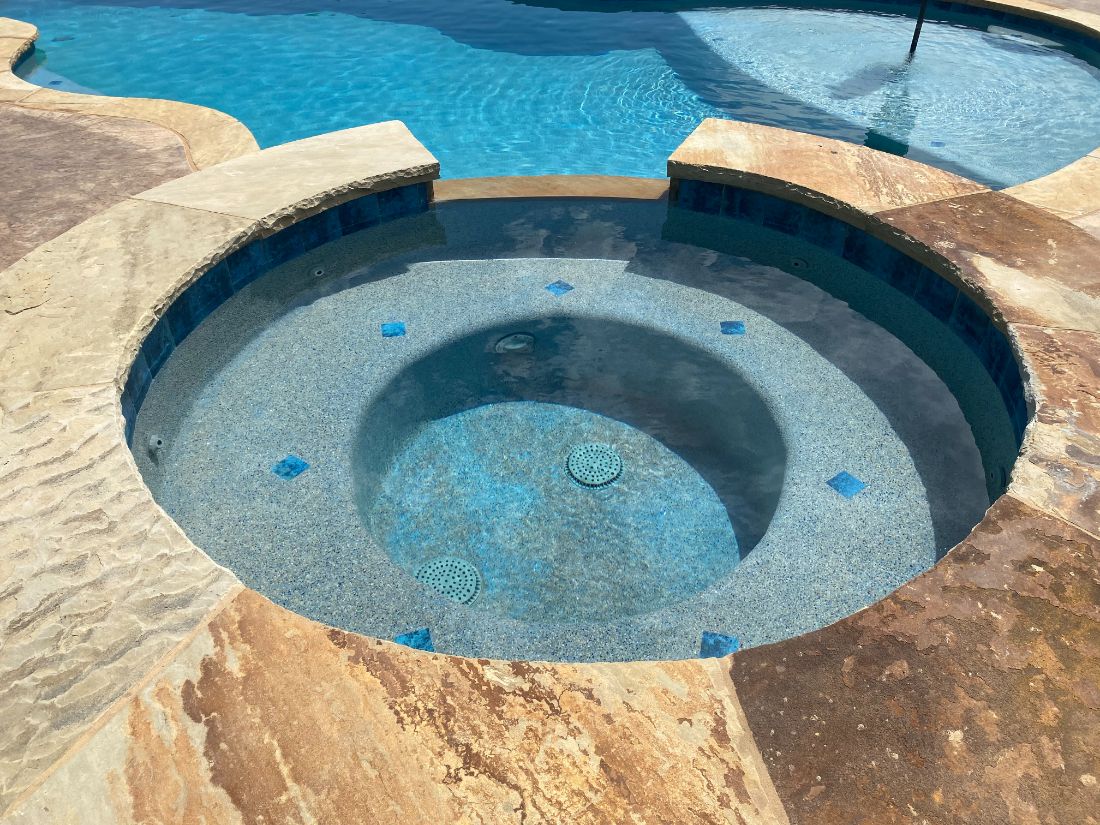
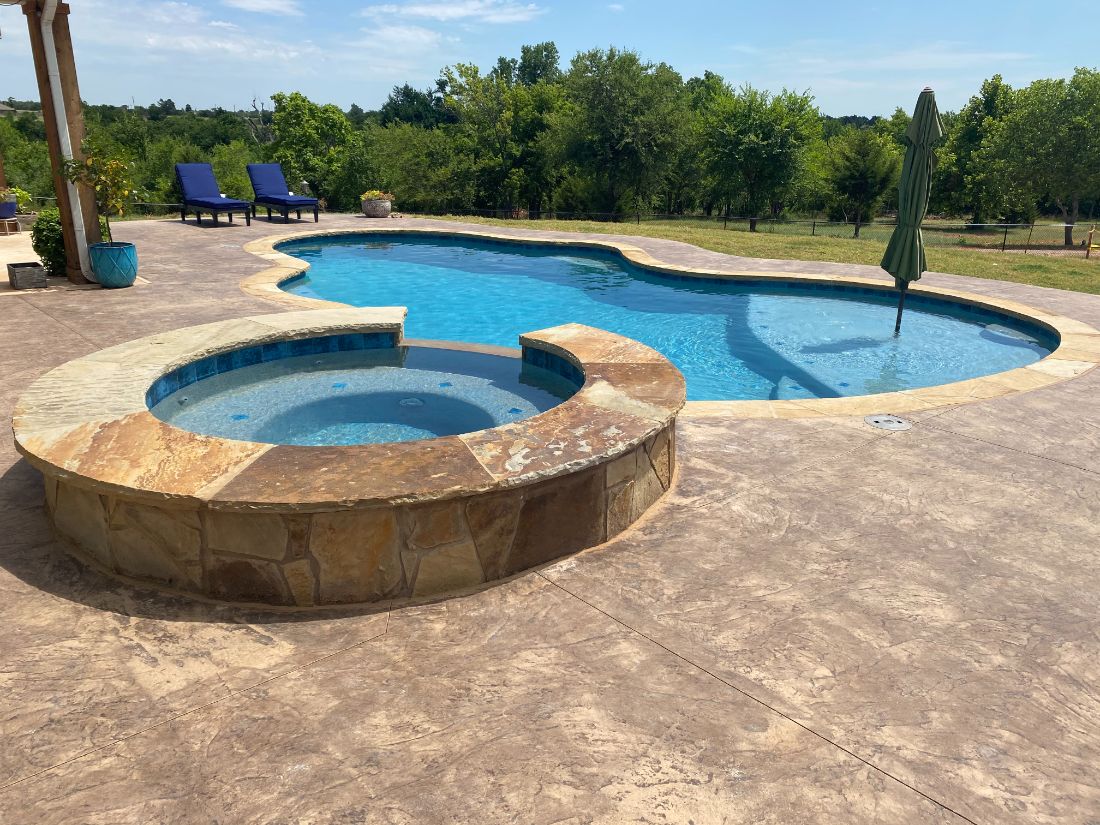
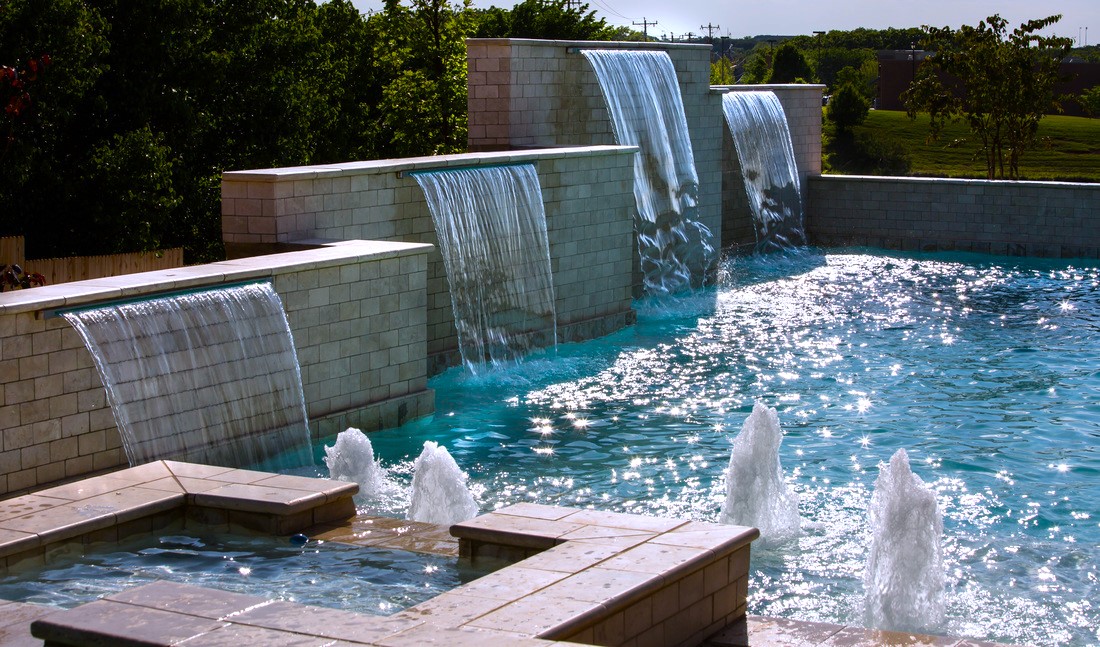
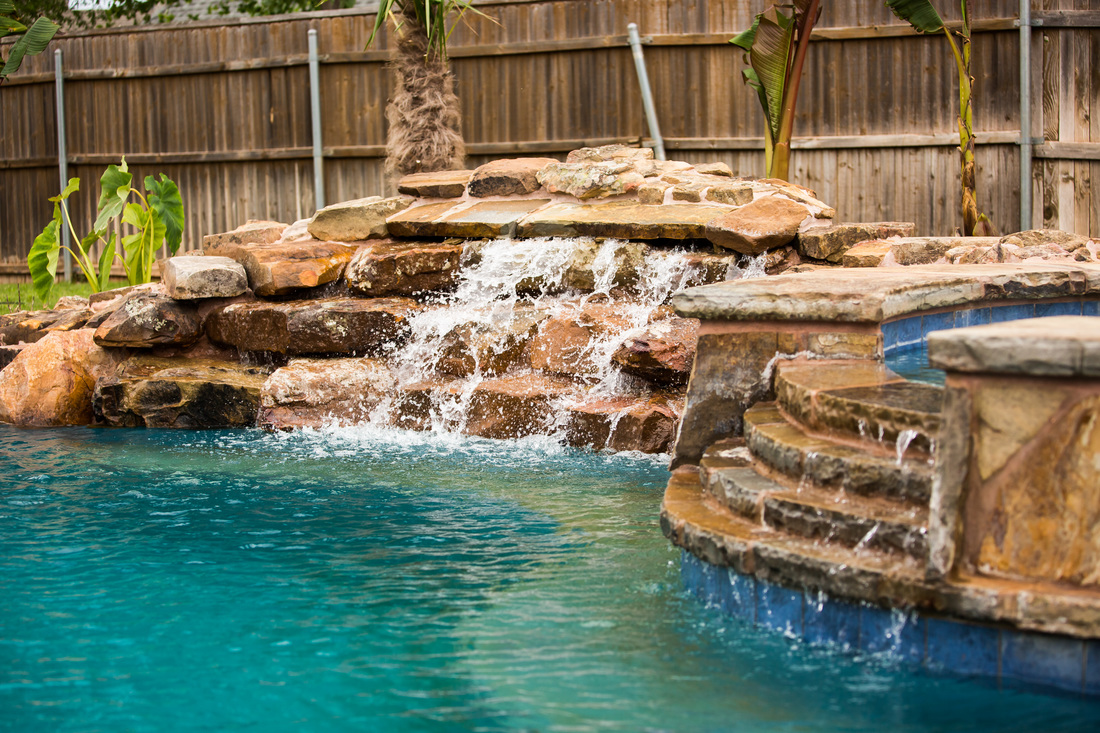
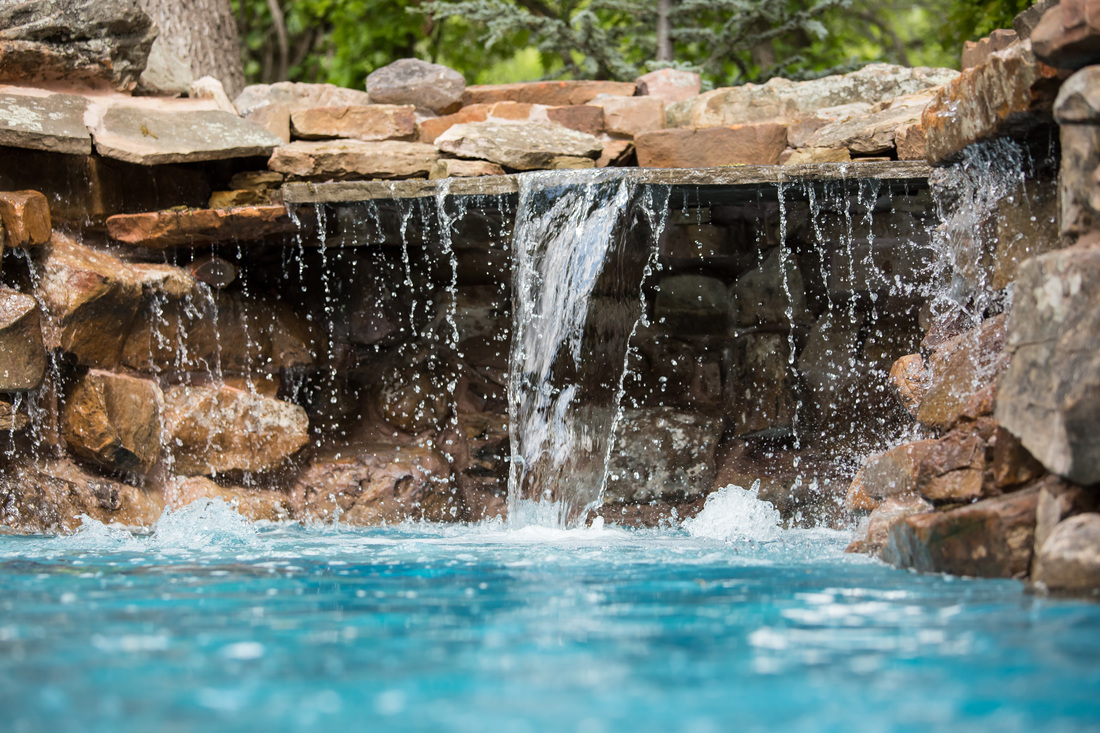
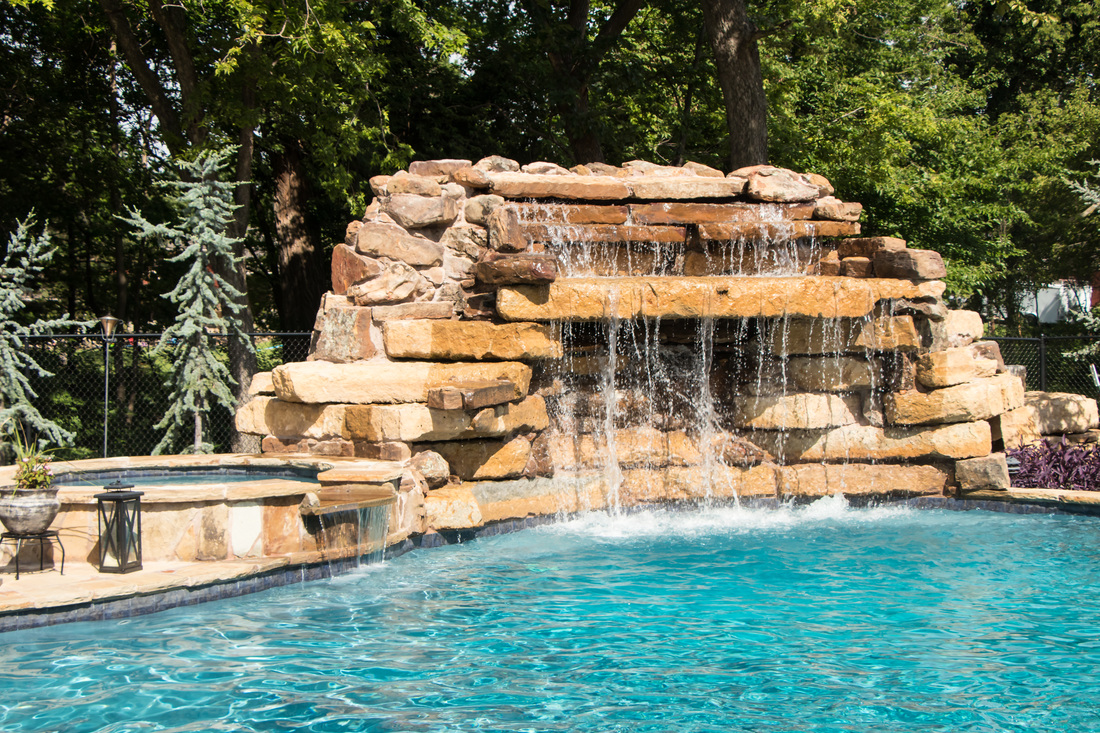
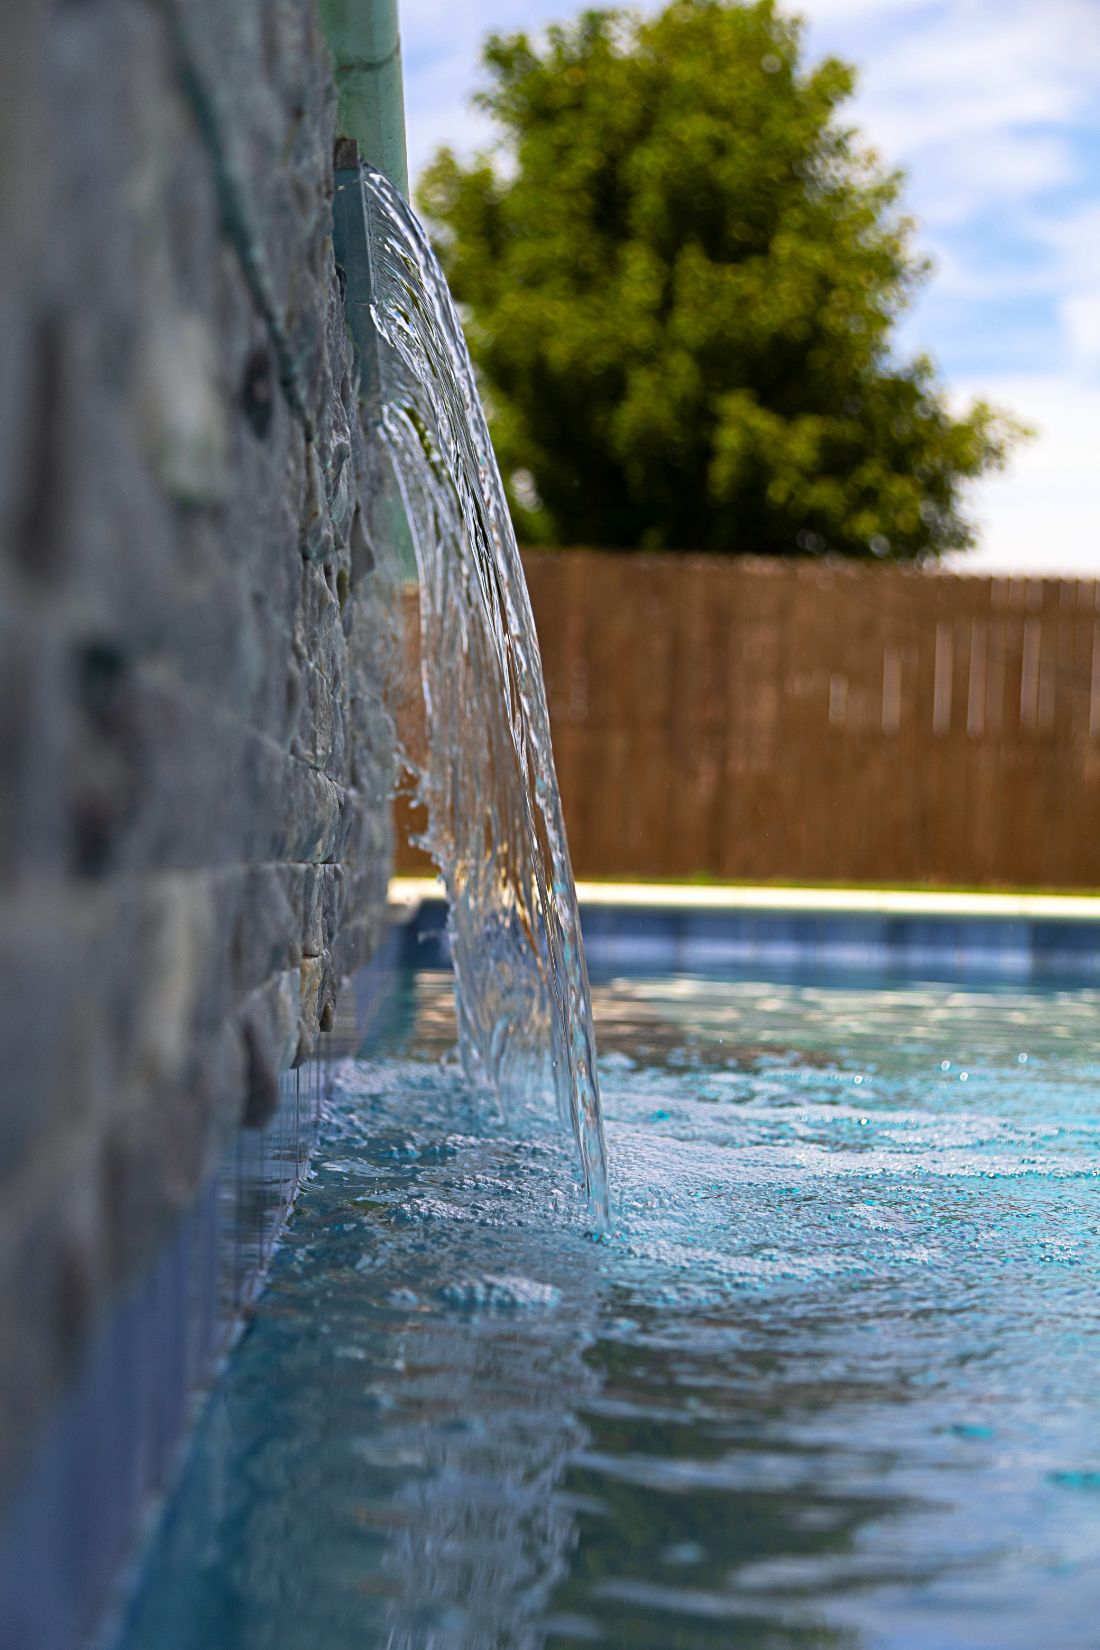
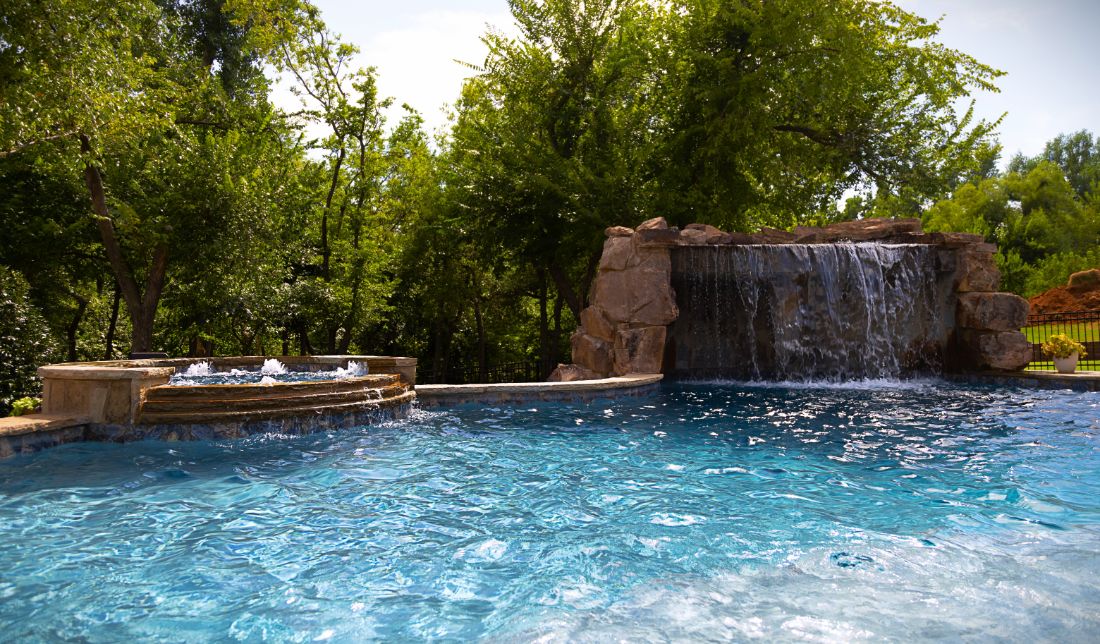
Welcome to our captivating collection of Oklahoma swimming pool and spa photos. Get ready to be inspired as you explore our gallery showcasing the breathtaking aquatic havens we have created throughout the beautiful state of Oklahoma. From the vibrant cityscapes of Oklahoma City to the tranquil suburbs of Edmond and the surrounding areas, our stunning pool and spa designs have transformed countless backyards into personal paradises. Immerse yourself in the artistry, craftsmanship, and creativity that define our projects, and envision the endless possibilities for enhancing your own outdoor oasis.